PORADNIK
How to replace a single plank?
Ceramin
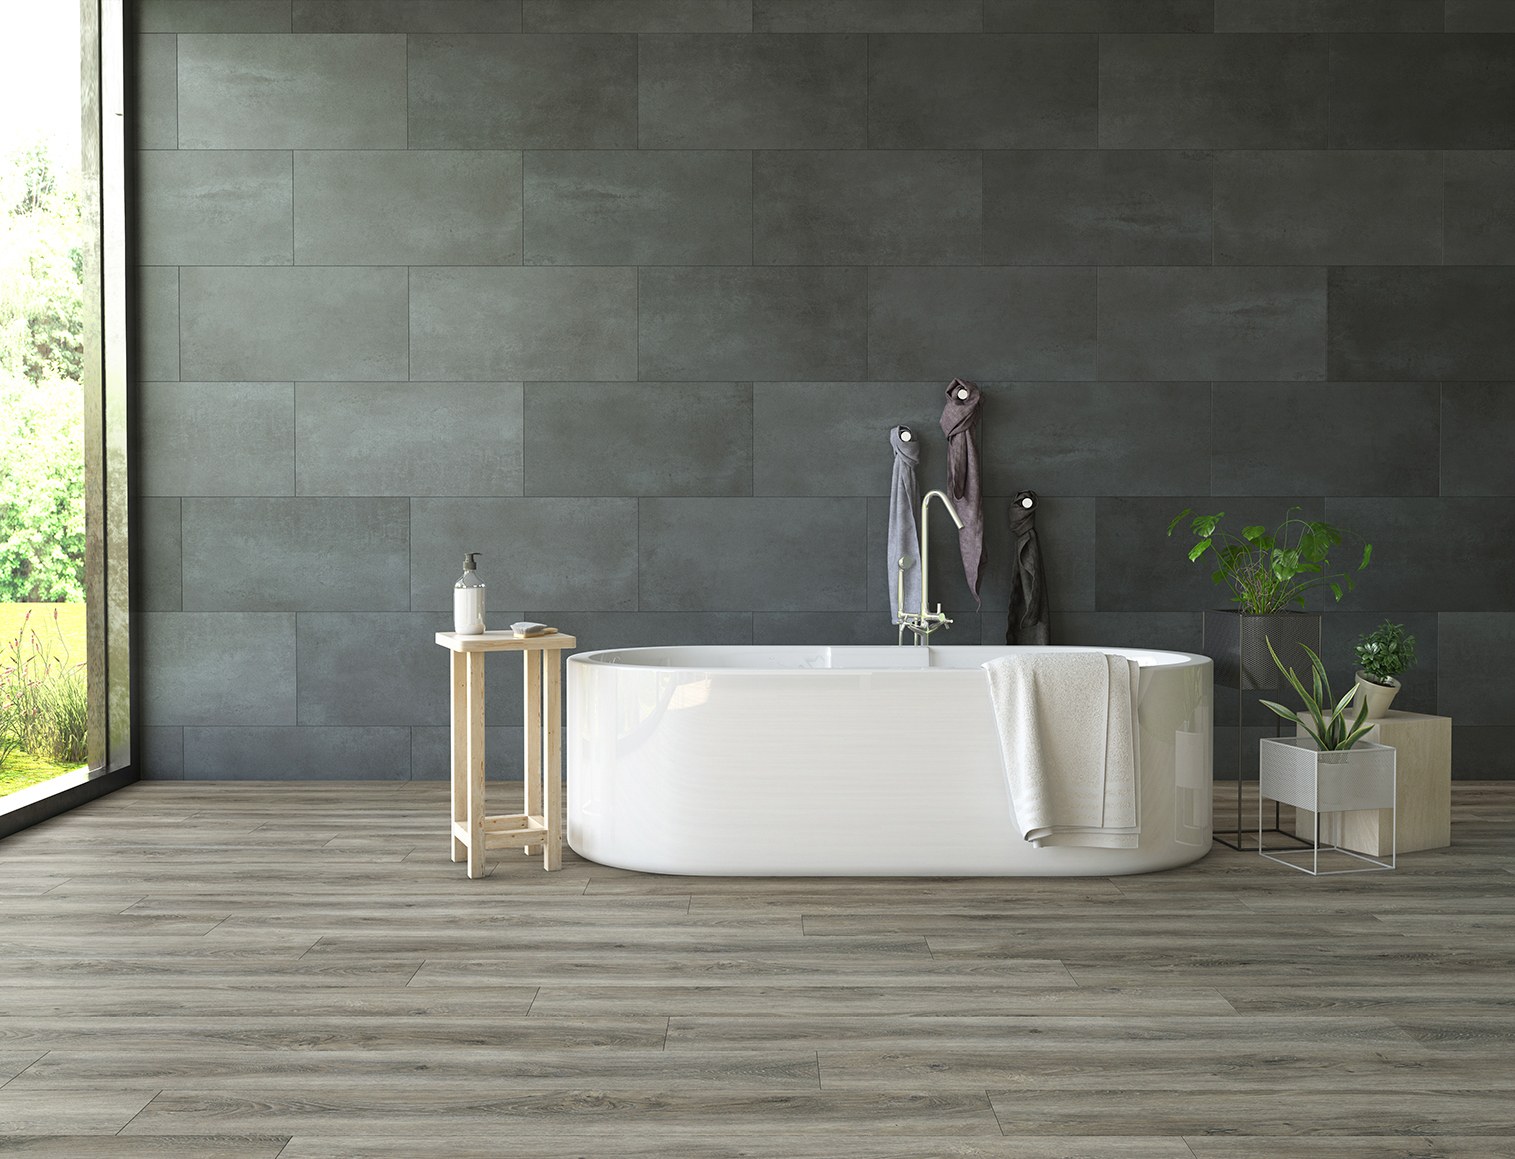
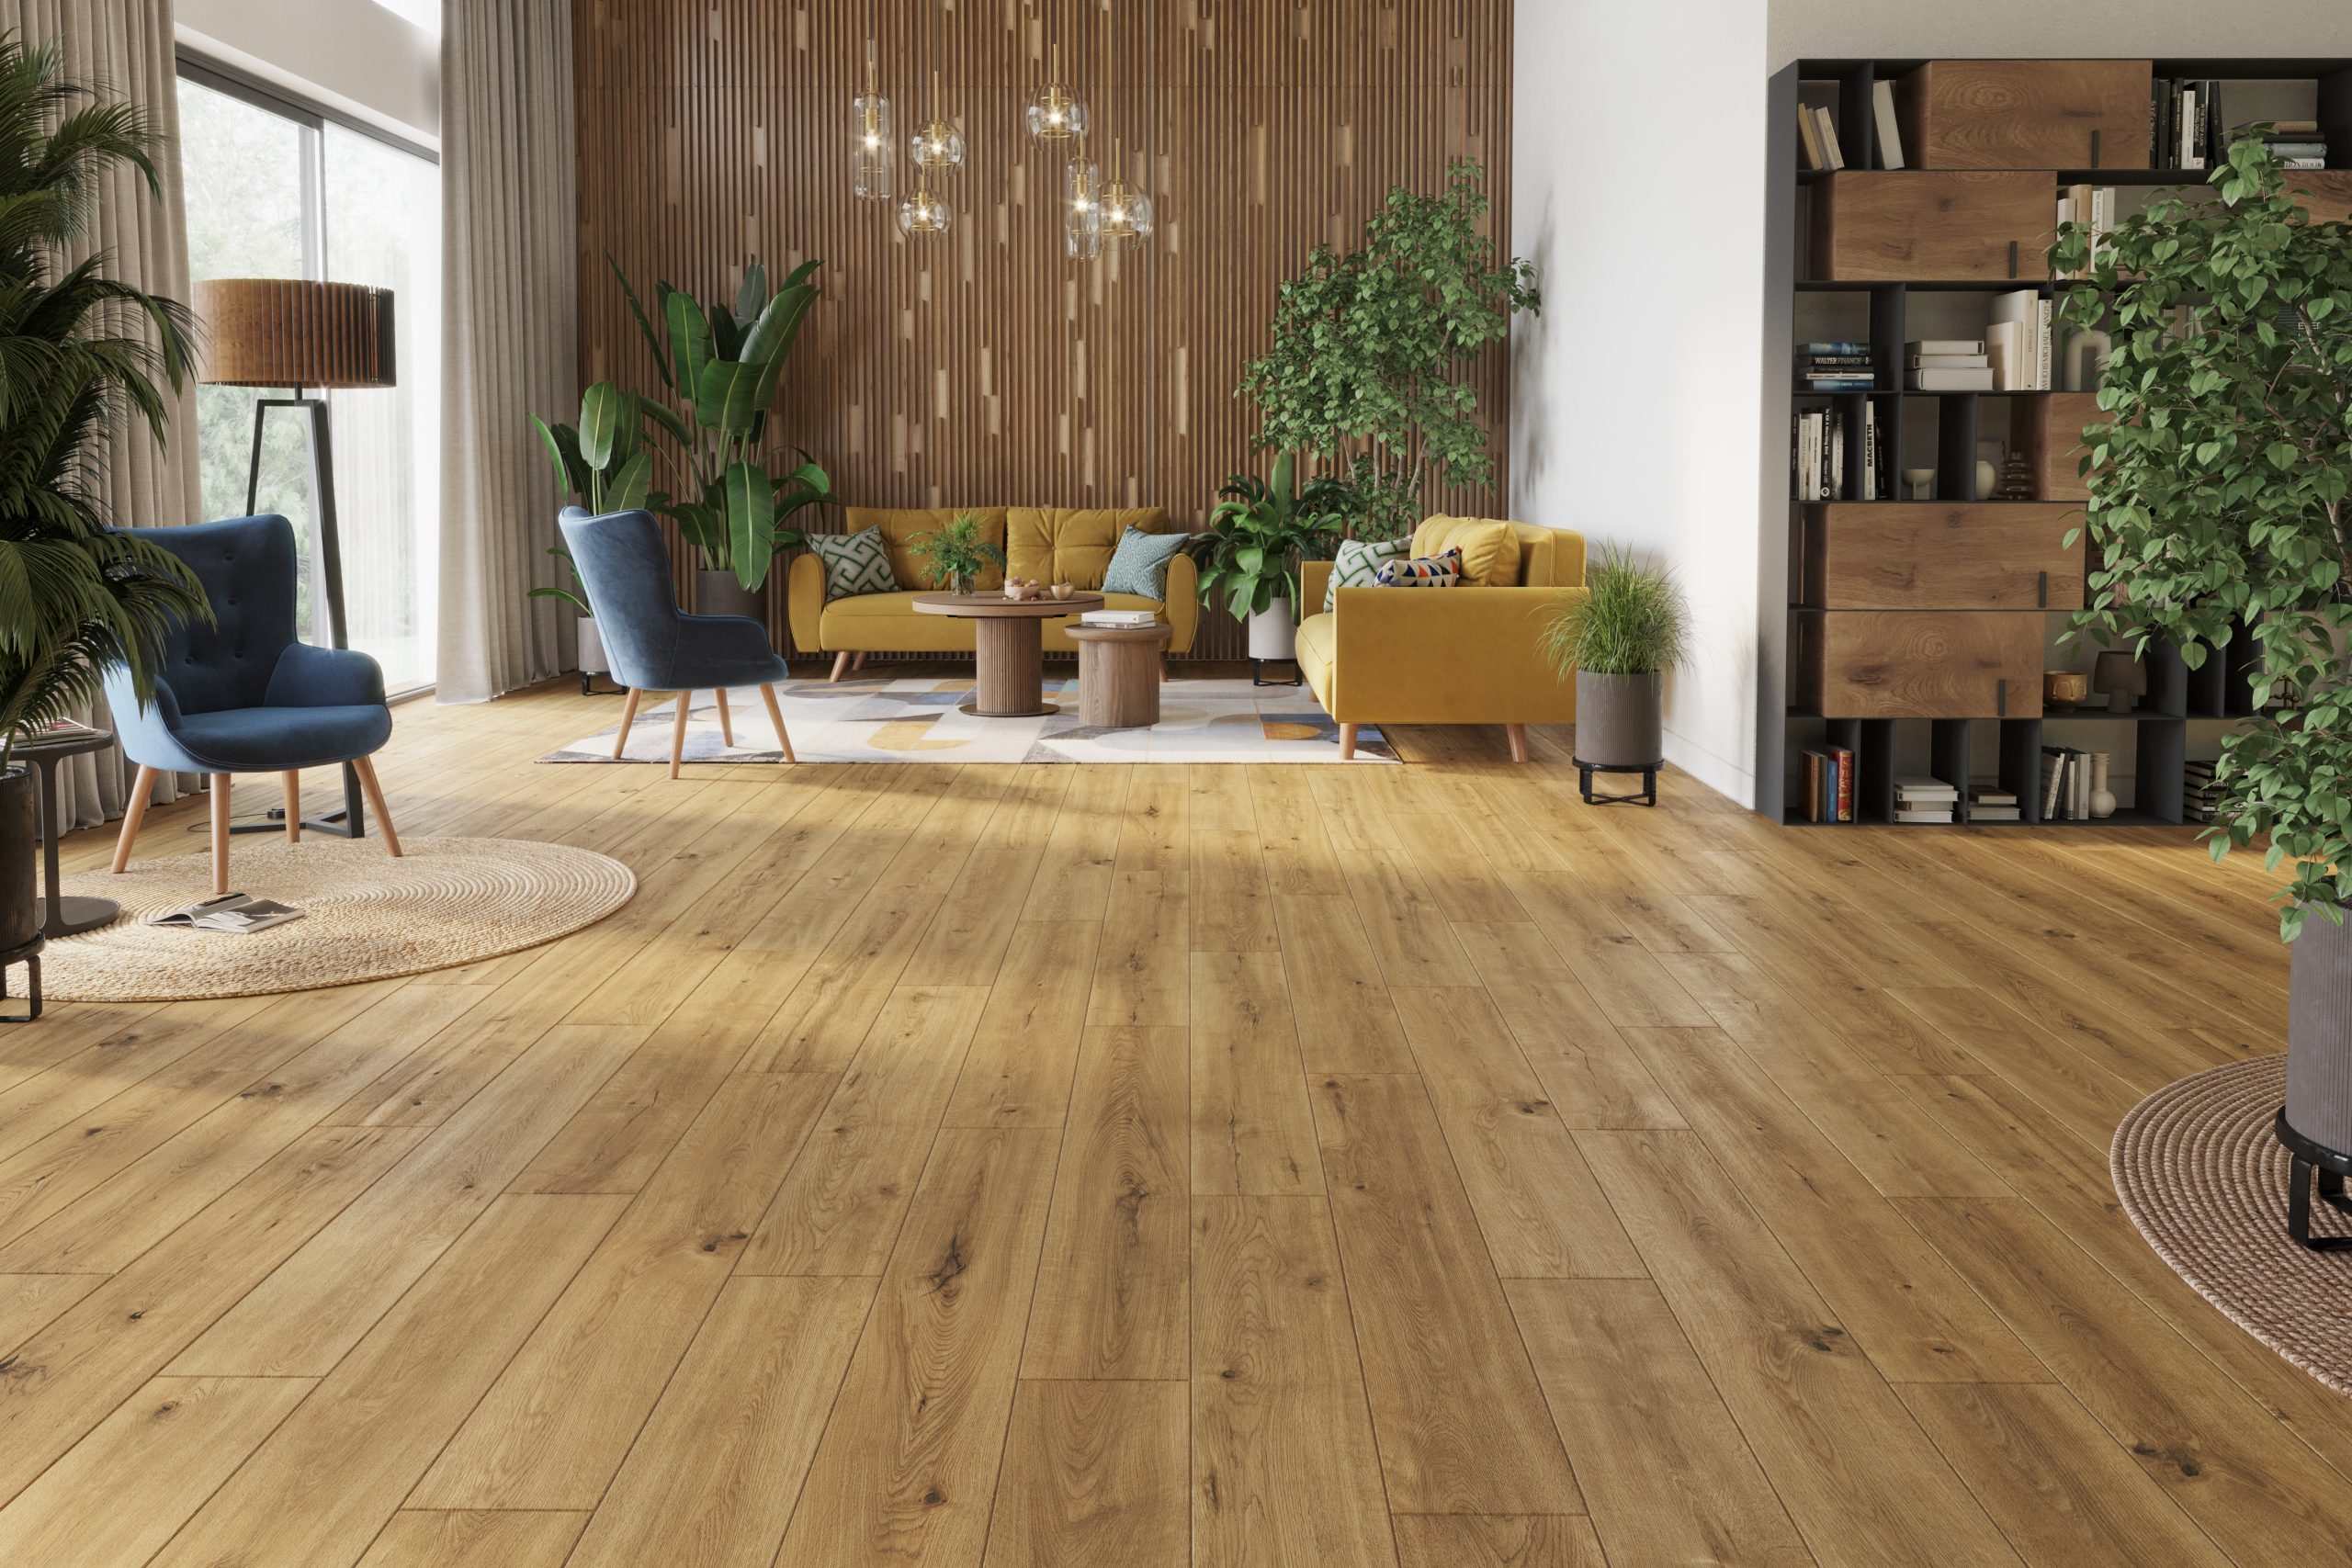
If a heavy object falls on the flooring, it can cause a dent at a particular point on the floor. As a result of flooding, unattractive bulges may appear on a single plank. Sometimes a really visible stain appears on the floor, which, to make matters worse, is difficult to remove. In all these situations, only a section of the flooring is damaged. Nevertheless, if it is located in the focal point of the room, it will have a significant impact on the appearance of the whole interior. In such a situation, the best option is to replace the plank that has been damaged. This is a very cost-effective solution – you don’t have to incur the large costs of changing the entire floor. You will also save a great deal of time. Replacing one plank does not require emptying the whole room or cleaning the whole house afterwards. The only problem may be finding flooring in the same shade as the one you already have in your home. That is why, when replacing the floor, it is worth leaving a few planks for exceptional situations.
Replacing planks that do not look good can be carried out using tools available in every home. The process itself is also not complicated and you will certainly handle it. Remember, however, that every millimetre counts when it comes to cutting and fitting the planks. So be careful throughout the entire process of replacing a piece of flooring. Patience is also extremely important with this type of work – it is better to take your time and carry out the renovation carefully than to end up damaging the rest of the floor. Find out how to replace a damaged plank step by step!
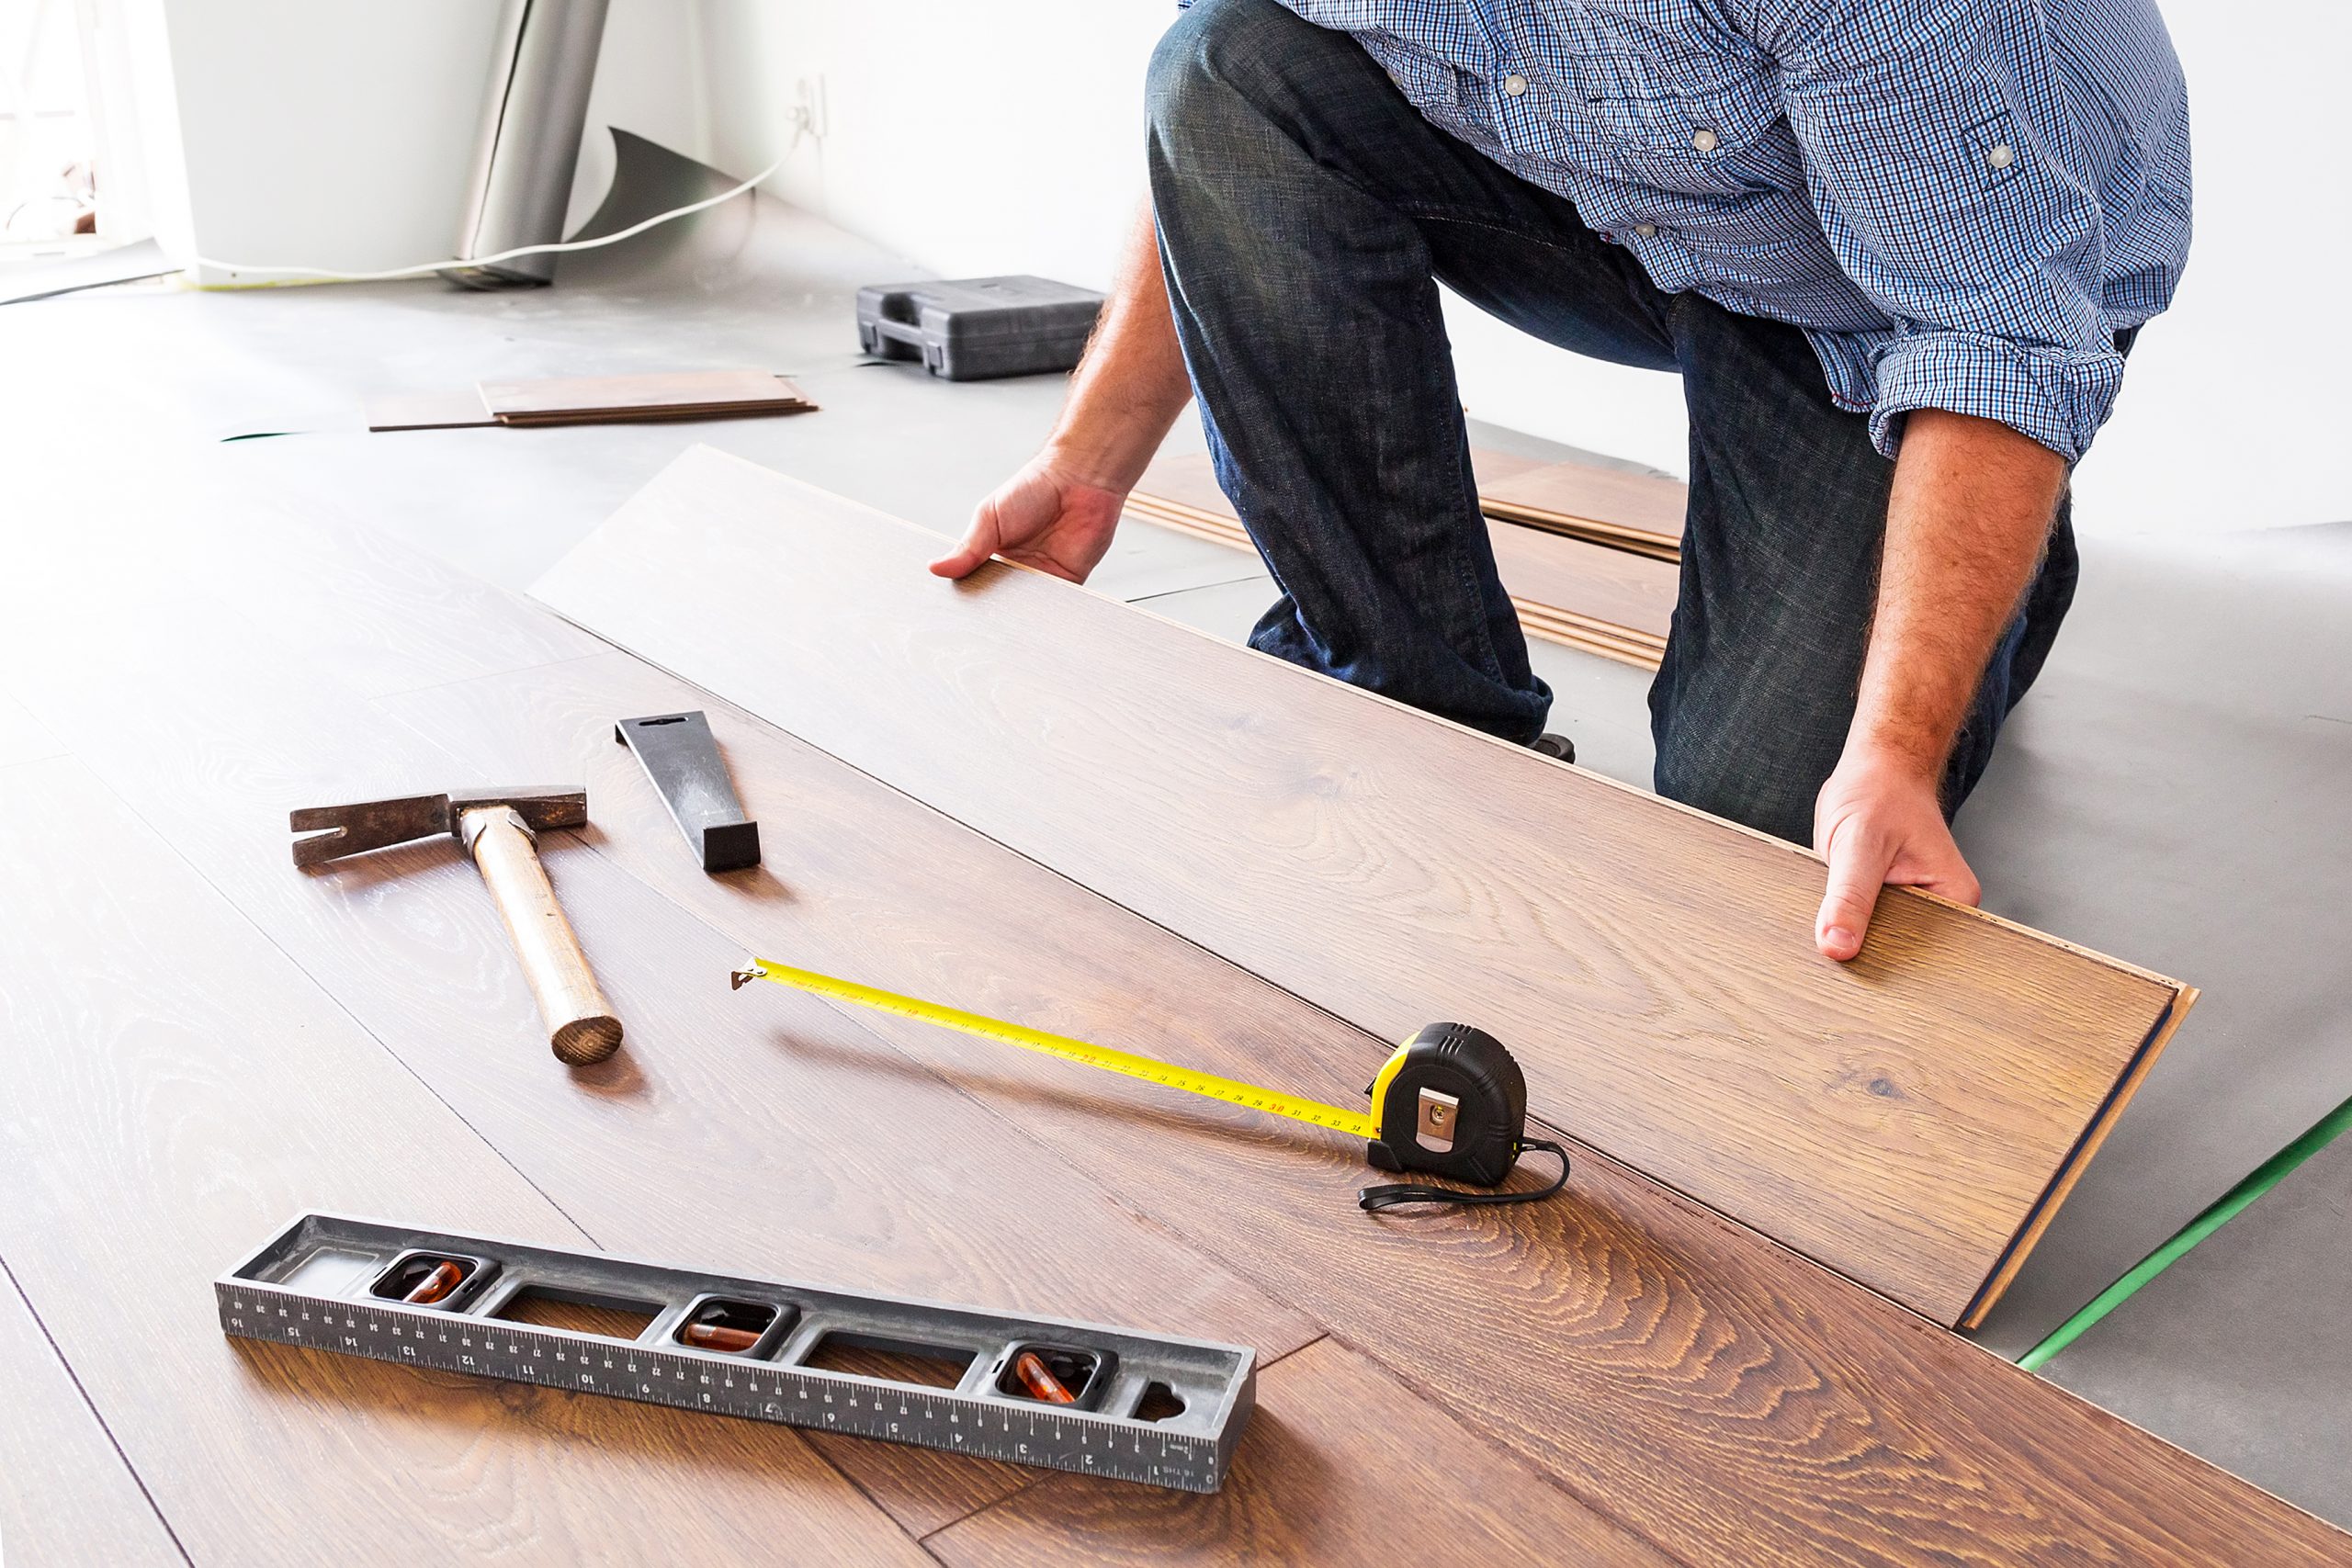
At the very beginning, prepare all the accessories you will need to replace a plank. This way, you will have all the equipment at hand, and you will not be distracted while working. What do you need for replacing a single plank? First of all, you will need a sharp tool to cut out the damaged plank. This can be a knife or chisel. A jigsaw will also be good for this task. When replacing a plank, you will also need a cutter with a guide bar or an angle grinder. Of course, the glue you will use to fix the new plank is also very important. And don’t forget about a vacuum cleaner, which will help you keep things tidy.
The replacement of planks should be planned carefully. At the very beginning, mark the area to be cut out. If you cannot define its edges exactly, try to mark them on the floor surface. Then measure out 2 millimetres on each side. This will ensure that you do not damage the neighbouring planks when removing the piece of flooring. Once you have prepared the work area in this way, use a sharp knife, cutter or guide to cut out the plank. Follow the lines marked earlier. Gently deepen the cut until it is possible to lift the floor section on all four sides. You can use a chisel to remove what remains after you have cut out most of the damaged part of the floor. Pry it off gently so as not to damage the adjacent planks. Slide out the tongues of the old plank remaining on the floor. Be careful not to accidentally remove the joints that will be needed to install the new floor.
Before you start installing a new piece of flooring, prepare the space properly. After removing the plank, the substrate will most likely be very dirty. First of all, it is worth vacuuming the exposed space and cleaning it of old joints and dirt in this way. With some types of adhesives, it may also be necessary to degrease a given area of the floor before applying the adhesive that will be used during installation. Information regarding this issue can be found on the product packaging. The binding substance should be applied to all edges, tongues and grooves of the planks. This will ensure that the new piece of flooring is firmly attached and stays in place.
The final step is to fix the plank correctly. For best results, use the planks left after the previous renovation. Before the installation, a piece of flooring sometimes needs to be cut to fit into the cut-out space. Place it on the previously prepared binder. Try to do it in one precise motion. Once you’ve managed to fill the gap perfectly, wait for the glue to dry. Waiting time varies depending on the specific product, so read the manufacturer’s recommendations. If excess glue appears, remove it with a spatula before it dries. However, be careful not to scratch the planks. Sometimes after gluing a new piece of the floor, some may unevenness appear. Do not worry about it. You can eliminate it very quickly with a rubber mallet. Gentle levelling of the floor will make the repair almost invisible.
Sometimes plank replacement can be more problematic. In the case of expensive and delicate materials, it is easy to accidentally damage other planks. If you don’t feel you can handle the replacement yourself, you can ask your relatives or friends to help you. However, if you want the renovation of the floor to be carried out really carefully, use a professional renovation company. Its employees will take care of your flooring using specialized equipment and, thanks to their experience, will replace it very quickly. You can also take this opportunity and order the refreshment of the entire floor. In this way, you will get rid of unattractive scratches and make the flooring shine. So if you have never installed flooring yourself, don’t take any risks. As a result of a small mistake, you can damage other planks and risk having to replace the entire floor.
Replacing a single plank yourself does not have to be difficult. If you are careful and follow the recommendations of the manufacturers of the accessories and tools you are using, the renovation of your floor should run smoothly. If you plan your work carefully and follow our instructions diligently, you can complete the job in one afternoon. You will enjoy the results for a long time and your floor will look like new. We hope that after reading our text, you no longer have to wonder how to replace a plank. Thanks to these tips, you will avoid a lot of unnecessary costs and the stress that would be associated with the installation of a new floor.