GUIDE
How to lay laminate flooring?
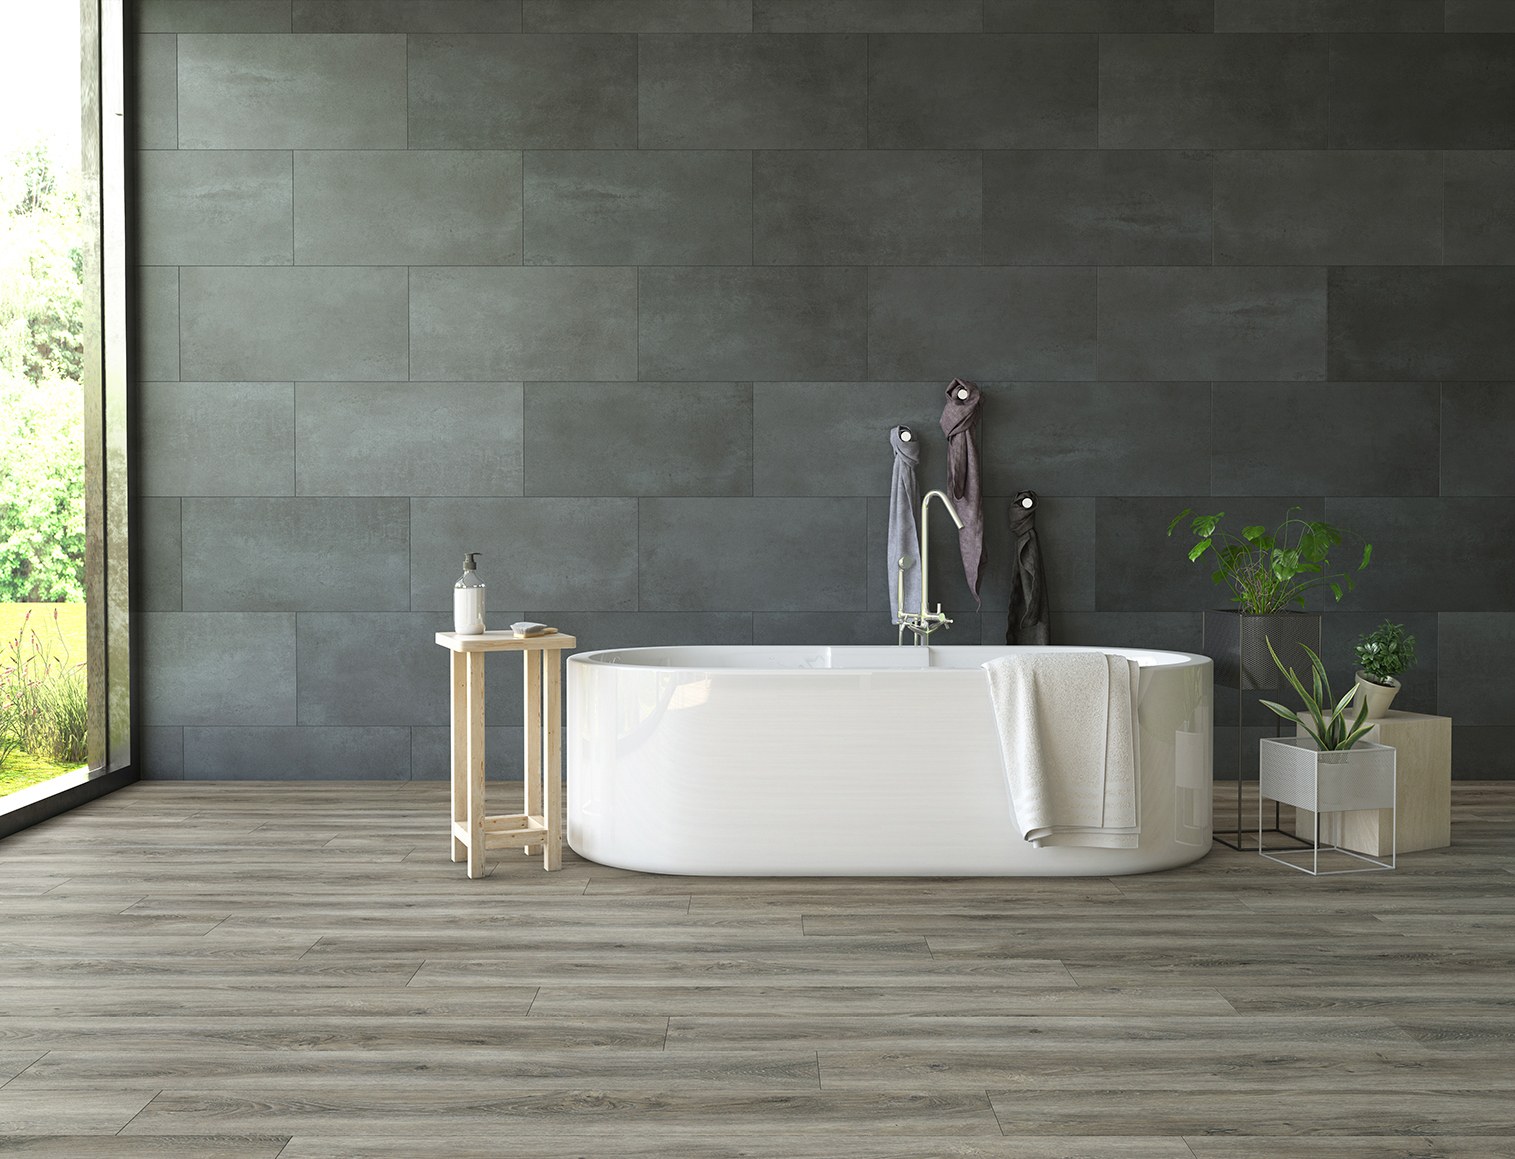
Laminated panels

Before you think about how to lay your flooring, remember to prepare yourself properly for the renovation. First of all, make sure you have the necessary equipment. You will need, among other things, a vapor barrier foil, underlay, a set of wedges and the following tools: mallet, measuring tape, drill, jigsaw, screwdrivers and engineer’s square. When laying the flooring, you will also use strong wood glue and skirting boards. It is also important to take care of your safety when working – make sure you have protective clothing and ventilate the room where you are laying the floor. Don’t leave the purchase of your flooring to the last minute either – it’s best to do this about 48 hours before you start replacing the floor, so that it has time to acclimate to the room in which it will be laid. Of course, you don’t have to store it specifically in the room where you will be installing it. The most important thing is that the temperature and humidity there is the same as in the target room.
Once you are sure that you have all necessary utensils, remove the old flooring. If you are laying the flooring in a newly built house, check that the substrate is even, dry, clean and load-bearing. In the case of a mineral substrate, such as concrete or cement screed, it is worth taking a moisture measurement. Also make sure that this type of substrate is properly protected against moisture. First of all, stretch a layer of vapor barrier film over it. Thanks to it, the air under the flooring will not condense, and thus the floor will not wrinkle later. A fragment of the film may slightly overlap the wall. Join its individual parts together using a tape. Then spread the underlay on the surface of the film. You can also use acoustic insulation that will reduce the sound of footsteps on the floor.
Detailed planning of work is the final stage of preparations that precede the laying of flooring. The patterns you want to achieve at the end of the renovation should be gently marked on the prepared substrate. This way you will know exactly how to lay the individual planks. It will help you to avoid later problems with empty spaces between the flooring and the wall or insufficient area for the last plank. Leave at least 30 cm for the last plank in a row.
How to lay the flooring efficiently, yet properly? Remember a few rules that will help you in your work during the renovation.
First unpack the flooring and compare the shades of the planks. Sometimes they may differ slightly from each other. If this is the case, arrange them in such a way so that the contrast is least visible. It is best to start laying the flooring from the corner of the room. Fix the first plank there. However, it should not be right up against the wall. To allow the flooring to adjust to the changing temperature, leave an expansion gap of 10 mm. It will not be visible later – you can hide it under the skirting board. Use wedges spacers to create an even gap. Lay consecutive planks from the first row along the wall. If there are any obstacles along the way, such as pipes, use an engineer’s square and a jigsaw. Place the second plank right next to the first one – insert its tongue into the groove of the already installed plank at a 30° angle. You should hear a distinctive click at this point. As you approach the end of the first row of flooring, there will probably not be enough space left for the last one. Cut the last plank carefully and adjust it to the gap.
Once you have completed a row of flooring near the wall, move to the next one, which will require slightly different methods. The most convenient way will be to connect the entire row of flooring together and then fix it to the previous one. This method will work especially well for angle-angle flooring in small rooms. For long rows of flooring, some help may be necessary. If you are laying drop-lock flooring, use the rest of the cut plank from the first row and add subsequent planks to it.
The last row of flooring should be at least 5 cm wide. Here, you should also remember to leave an expansion gap between the flooring and the wall. In the case of the last row of flooring, it is sometimes necessary to cut the planks. It is best to cut each one separately to compensate for any unevenness of the walls. Cut them also to the shape of the door frames. A tapping block and odourless glue will help you with the final fixing of the flooring. Make sure that the floor does not block the door in any way. Once the floor is ready, finish it off with skirting boards. Cut them at a 45° angle and fix them to the laminate flooring with assembly adhesive. If you notice that the floor in the neighbouring room has a different height, use a cover strip.
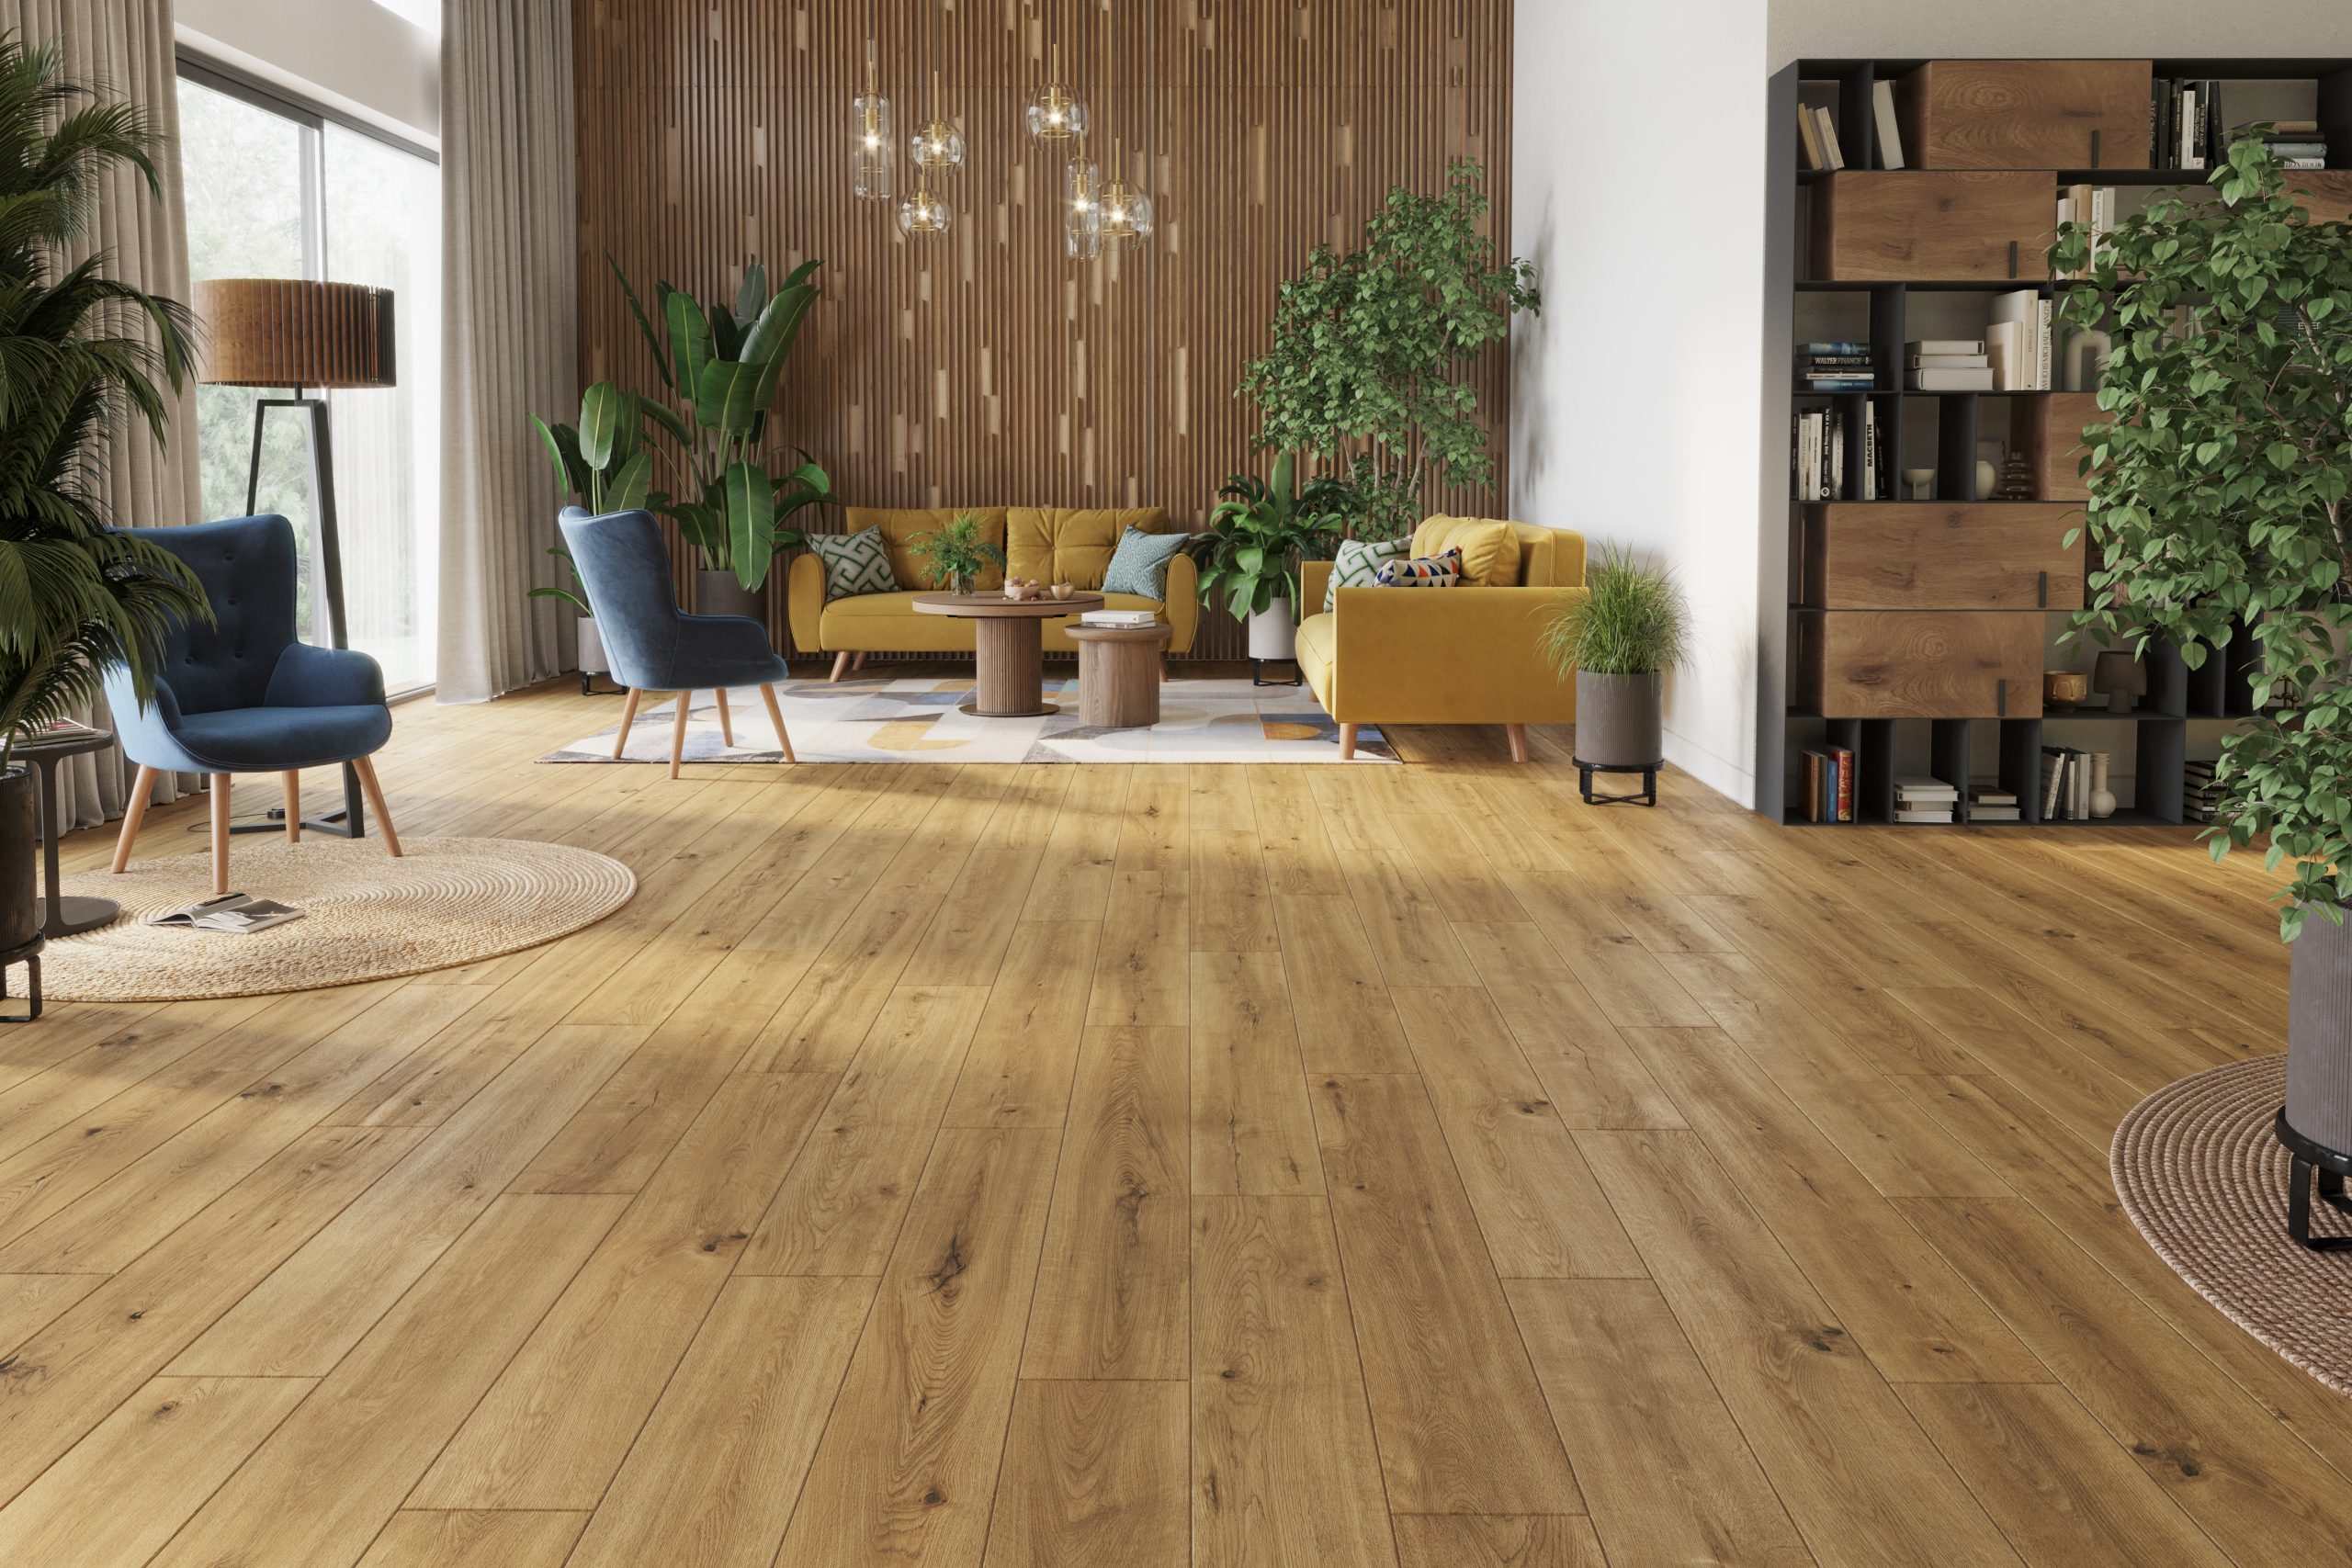
When planning how to lay the flooring, it is also worth considering the visual aspect. There is often a delicate pattern on laminate flooring. Its layout, although may be poorly visible on individual planks, will stand out on the finished floor. Verify the angle at which beams of sunlight enter the room. The pattern on the flooring can be laid in line with them or just the opposite. This will have a big impact on the appearance of the entire room. If you want the joints between the planks to be as inconspicuous as possible, lay them perpendicularly to the window opposite the entrance.
If the pattern on the flooring is an important element of the overall composition, check the layout once again before the final installation. You can do this, for example, on the floor in another room. As in the case of colour, individual laminate planks may differ slightly when it comes to applied grain pattern or other details. Do not leave the way they are laid to chance in order to enjoy the best possible results. Some models are distinguished by a very characteristic design and allow you to compose original patterns yourself. In this case, it is worth planning their layout before the renovation begins.
Installing laminate flooring yourself does not have to be difficult. If you prepare for it properly, the work will run smoothly. Soundproofed, protected against moisture and properly laid flooring will serve you for a long time. If you pay attention to all the details described in the text, the floor will also look very attractive. We hope that our advice will be helpful and will dispel your doubts about how to lay laminate flooring.